Lauching a Jupyter notebook from within a virtual environment
When I’m working with Jupyter notebooks, I often want to work with them from within a virtual environment. The general best practice is that you should always use either virtual environments or Docker containers for working with Python, for reasons outlined in this post, or you’re gonna have a bad time. I know I have.
"All of my local Python environments"
— Vicki Boykis (@vboykis) October 31, 2017
M.C. Escher, 1969 #devart pic.twitter.com/iosQJnXJXj
The workflow is a little long, so I thought I’d document it for future me here.
- Go to your working repo.
- Activate your environment - Thanks to Tim for creating the shortlink to my Netlify site, and for introducing me to Netlify.
- Open a Jupyter notebook within a virtual environment by installing ipykernel in that virtual environment and creating an ipython kernel with your wanted environment name. Make sure to use python -m, per this:
Read a really helpful post on 'python -m' from @brettsky that also reminds me (as if I've forgotten 🙃) how much time and effort we as Python developers spend on isolating environments. https://t.co/7FvTHsugJh
— Vicki Boykis (@vboykis) February 17, 2020
- Launch Jupyter Lab (or notebook) and create a new environment with your notebook.
Bash code:
shell > mkdir envtests && cd envtests
shell > virtualenv -p python3.7 myproject
shell > source myproject/bin/activate
(myproject) shell > python -m pip install ipykernel
(myproject) shell > ipython kernel install --user --name=myproject
(myproject) shell > jupyter lab
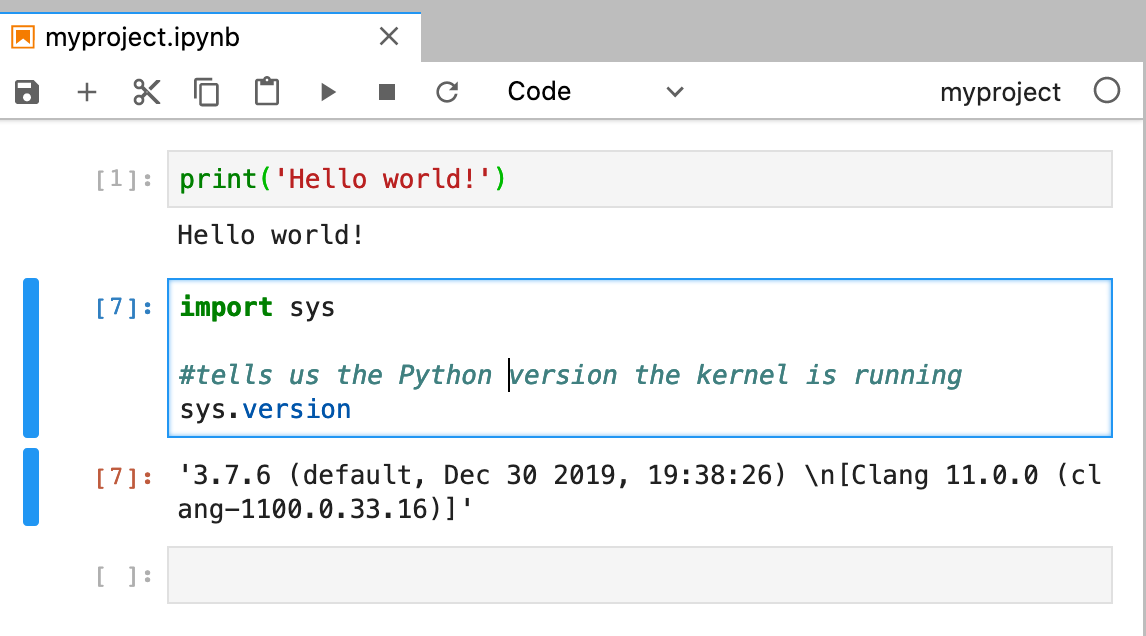
You can see in the image that we’re using myproject as the Python version. To test the version within the kernel:
import sys
sys.version
Editing to add the Twitter thread, where people added great comments:
Got tired of Googling this, so here's how to open a Jupyter notebook from within a virtual environment: https://t.co/1y2Jdu8TrN
— Vicki Boykis (@vboykis) February 18, 2020